Have you ever had issues with calibrating your Cricut for print and cut? Try this easy hack to fix it!
If your Cricut is cutting your designs off centre, the first
thing you are likely to do is to re-calibrate your machine. But what happens
when this doesn’t work?
Last week I had this exact issue. I re-calibrated the
machine at least five times, but still my stickers weren’t cutting right.
I looked online for a fix, first with a Google search and
then on social media, but despite seeing many other people experiencing similar
issues, I couldn’t find a resolution. I even saw people commenting that they
had decided to upgrade to a new Cricut, or a different cutting machine after
failing to fix this issue!
After a frustrating few hours, I did manage to figure out a fix for the issue myself. I posted
about it on TikTok and my comments were full of other people telling me it
worked for them too. So, if you also are having trouble with this – I may just have the
solution!
First of all, identify exactly how your Cricut is
mis-cutting. Mine was cutting too far to the right, and too far down, cutting
off part of the design in the process.
Next, run a calibration.
If you have never calibrated your machine, try out a regular calibration first. You can find a tutorial here, and there also are on-screen instructions. You can find the calibration option in the main menu of design space.
If you run a normal calibration and you are still getting off-centred results, try this next step.
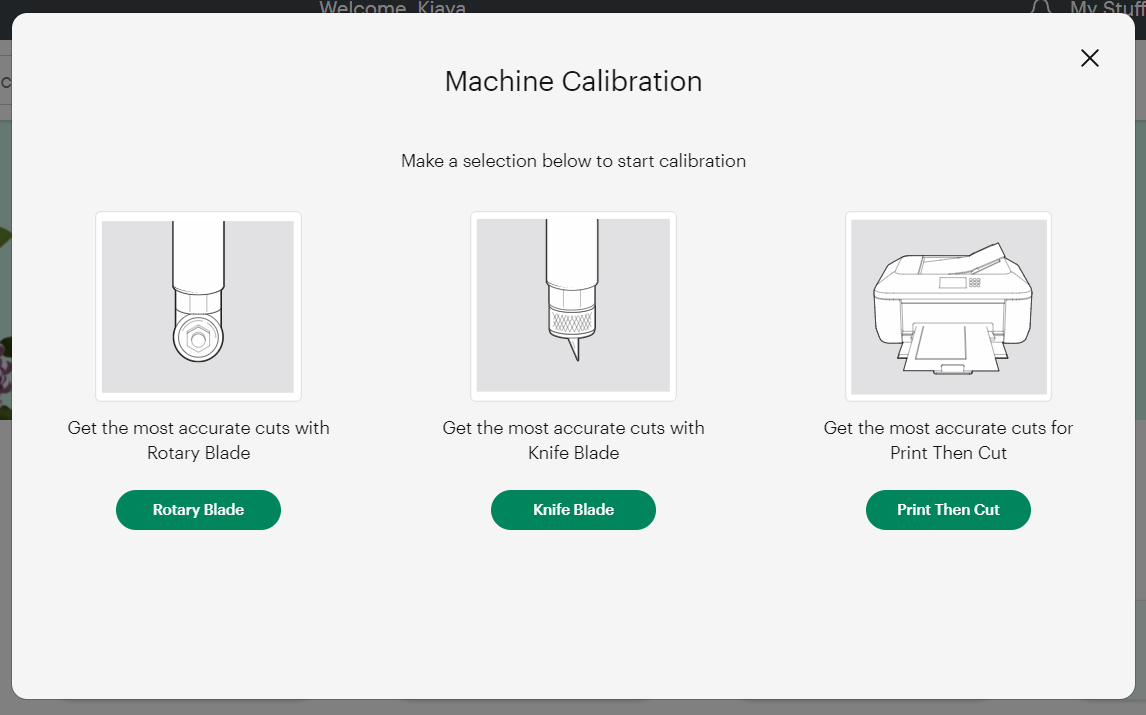
Once you open calibration, select print and cut, then follow
the on-screen instructions until you get to the point where it asks you to
select the most central line from the top and right-hand side options. Usually,
these will be the lines in the middle.
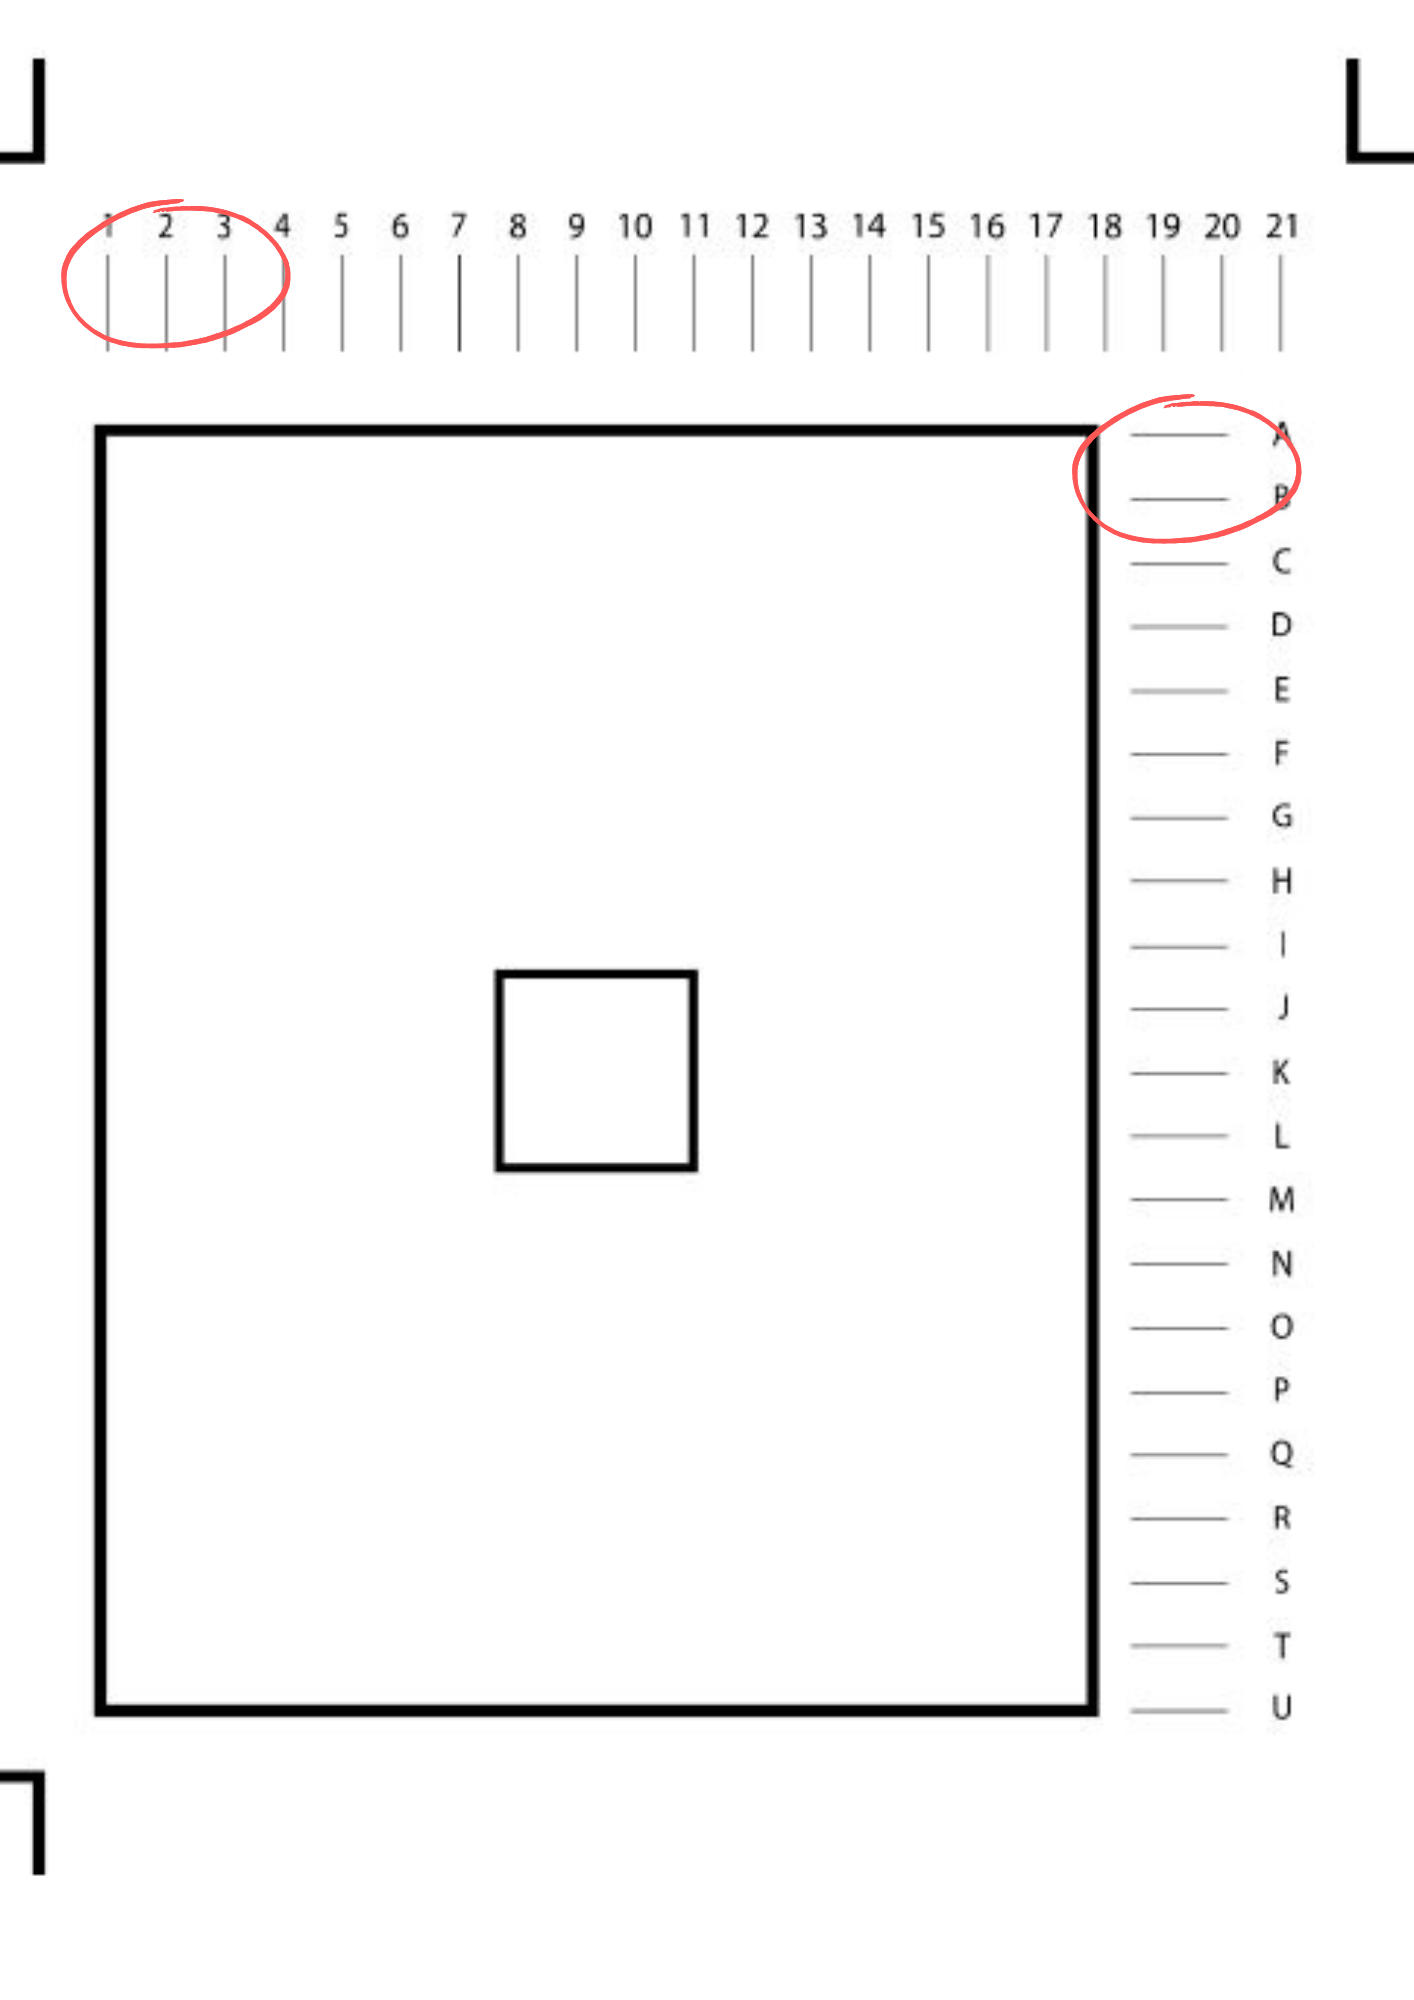
Do NOT select the best/most central lines. Instead, select the cuts that are opposite to your miss-cuts.
For example - as my cuts were centred too far to the right and down, I selected the lines that were far to the left, and far up – essentially tricking the machine to shift the calibration further to that side.
I selected the cuts at 2 and B:
Let the machine finish calibration. At the last stage, the cut wont be in the centre of the rectangle, but don’t worry about that.
Once it’s finished, check the box confirming that you are happy with the cuts, and test out another print and cut on your machine.
For me, this worked perfectly, and my designs were centred again!
Hopefully this will save you from some of the stress and frustration of trying to fix your cut settings, or from going out and buying a whole new machine.
Let me know in the comments if this worked for you.
Happy crafting!